
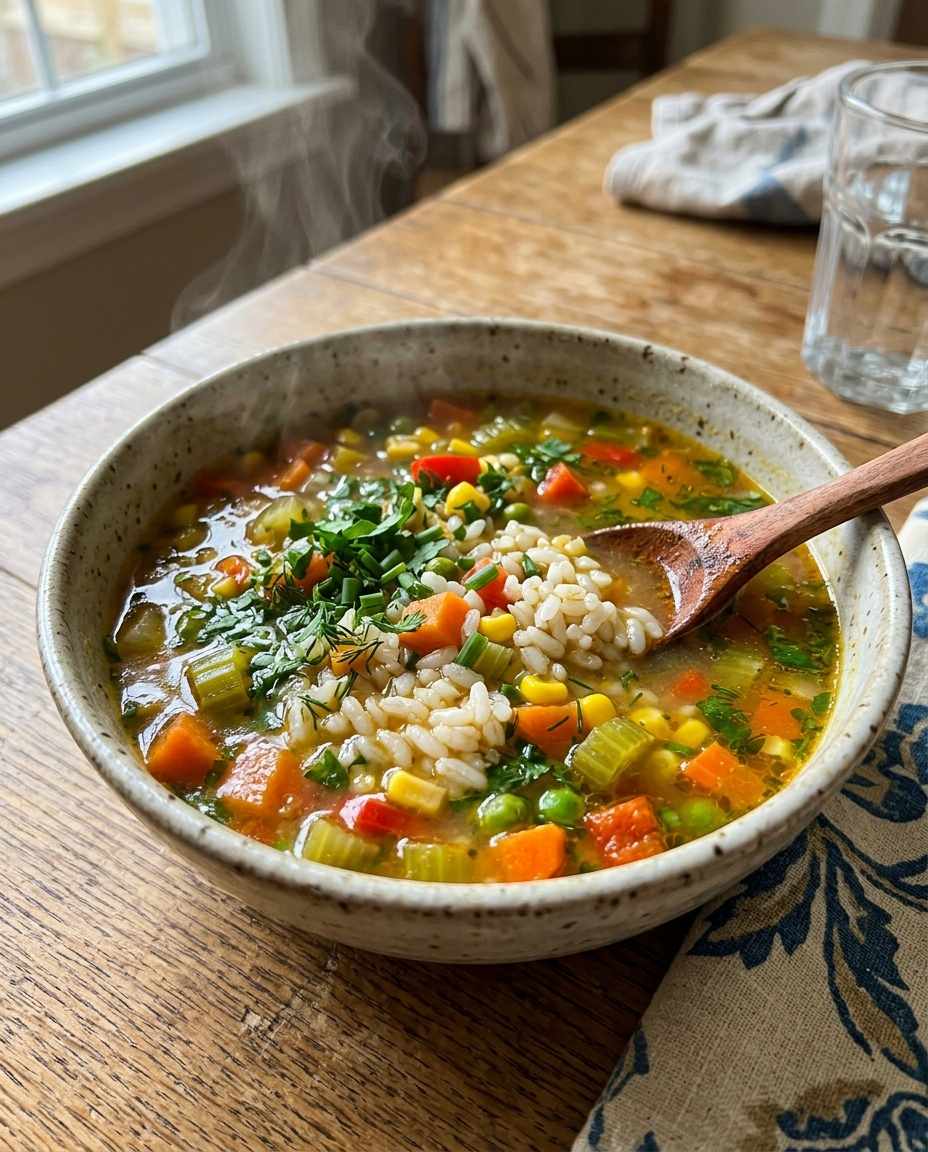
The first time I dropped uncooked rice directly into a simmering soup, I was sure it would swell to fluffy perfection.
Instead, I ended up with a soggy, starchy mess floating aimlessly in broth.
Through careful testing and insider knowledge, I’ve cracked how to cook rice in soup flawlessly every time—here’s what you need to know.
Understanding How Rice Cooks in Liquid

Cooking rice in soup involves a nuanced balance of absorption and heat transfer within a complex liquid matrix.
Rice grains absorb water primarily through starch gelatinization, which begins at around 140°F (60°C) and completes near 212°F (100°C), swelling visibly inside the broth.
When rice is added to soup rather than cooked separately, the starch releases into the surrounding liquid, affecting the soup’s clarity and texture.
In my experiments, I found that the type of rice matters tremendously.
Long-grain varieties like basmati retain structure better than short-grain rices, which tend to break down quickly and create a thicker, almost creamy broth.
I once tried pearl barley instead and noted the soup’s body changed entirely.
This highlights that rice starch properties directly influence the soup’s mouthfeel.
A common mistake is adding rice too early and at high heat, which causes uneven cooking and a gummy texture.
The starches can over-hydrate or leach prematurely, turning broth cloudy and grainy.
An actionable tip is to wait until the soup simmers gently around 200°F (93°C), then add rice gradually, stirring to prevent clumping.
If you’re aiming for clear soup with al dente rice, parboiling rice before integrating it or soaking it for 20 minutes to begin hydration can help control gelatinization.
By understanding the starch science behind rice hydration, you can manipulate cooking time and temperature for your perfect spoonful.
Choosing the Right Rice for Your Soup
Selecting the appropriate rice variety is key to perfect texture in soup.
Long-grain white rice such as jasmine or basmati is ideal for fluffy, separate grains; medium or short-grain rices work better if you want a creamy, thickened broth due to their higher amylopectin content.
I once swapped basmati for arborio in a minestrone and noticed how it created a risotto-like texture that was hearty but less clear.
Parboiled or converted rice offers a robust texture when cooked directly in soup.
These grains have a firmer outer layer limiting starch leakage, keeping the broth clearer and rice grains intact longer.
In contrast, instant or quick-cooking rice breaks down rapidly, sometimes too much, causing a gluey mouthfeel instead of individual grains.
Many novice cooks overlook gluten cross-contamination risks in specialty rice blends labeled as “soup rice”.
If cooking for celiac guests or sensitive palates, opt for certified gluten-free, single-variety rices from trusted suppliers.
I learned this the hard way after buying a pre-blended rice mix that clouded my delicate broth unexpectedly.
Ultimately, the rice type decides your soup’s character and cooking interval.
You want to buy rice labeled with cooking times close to your soup’s total simmer time, for predictable outcomes without mushiness or undercooking.
Timing Rice Addition in Soup Cooking

Determining when to add rice to soup is a juggling act influenced by the soup’s cooking duration, rice cooking time, and desired texture.
Adding rice too early during lengthy stews results in overcooked grains turning to paste; too late, and the rice remains crunchy and undercooked.
From personal trial and error, the golden rule for white long-grain rice is to introduce it 15 to 20 minutes before serving.
For soups that require 45 minutes or longer of simmer time, cooking rice separately until just underdone and then adding it in the final 5 minutes preserves texture and prevents over-thickening.
This method saved my weeknight chicken and wild rice soup from becoming a thick, gloppy nightmare.
A frequent misstep is assuming all rice varieties cook evenly when actually short-grain or wild rices need longer soak and simmer time.
Knowing your rice’s average cooking time from the package or a trusted source is imperative to avoid guesswork.
When in doubt, err on the side of undercooking rice by a few minutes before combining it with your soup.
To master timing, consider making a quick test batch with a small portion of your soup.
This lets you gauge starch release and grain integrity, minimizing waste and refining your timing for subsequent batches without guesswork.
Controlling Broth Consistency and Flavor Impact
Rice starch affects soup consistency more than most cooks anticipate.
As grains swell and release amylose and amylopectin, the broth thickens and opacity increases, sometimes undesirably.
From experience, I’ve found that to maintain a clear broth, use no more than 1/4 cup uncooked rice per 4 cups of liquid unless you want a porridge-like texture.
Flavor absorption is another subtle aspect.
Rice tends to soak up salt and aromatics, which can mute soup’s seasoning balance if added too early.
I once forgot to adjust seasonings after cooking rice in a broth, resulting in a flat-tasting final dish.
A measured seasoning adjustment after rice is fully cooked ensures the broth remains vibrant and well-balanced.
To manipulate broth viscosity intentionally, add rice in incremental amounts to the simmering liquid, tasting the broth every 5 minutes for mouthfeel and clarity.
This iterative approach provides control over starch levels while avoiding over-thickening.
Alternatively, rinsing rice thoroughly before cooking can reduce starch leaching substantially.
The key takeaway is balancing starch release with flavor concentration.
Combining controlled rice quantity, timing, and strategic seasoning adjustments transforms cooking rice in soup from a risk to a culinary advantage.
Techniques for Even Cooking and Texture Control
Achieving uniformly cooked rice in soup requires attention to heat distribution and stirring frequency.
Uneven heating causes some rice grains to overcook while others remain hard, especially in thick soups with chunky ingredients.
I learned to gently stir every 3 to 5 minutes rather than aggressively, since excessive agitation breaks grains and clouds the broth.
Using a heavy-bottomed pot like enameled cast iron or thick stainless steel promotes consistent simmering by reducing hot spots, facilitating even cooking of rice and soup ingredients.
I switched to a 5-quart Le Creuset after witnessing rice stick and burn in a thinner aluminum pot, which drastically improved texture.
Cooking the rice submerged in broth as opposed to resting it on vegetables or meats also matters.
Direct contact with liquid ensures thermal transfer to rice, preventing dry, chalky spots.
To troubleshoot unevenness, lift and stir the bottom cautiously with a silicone spoon, avoiding vigorous scraping.
If soup volume dilutes heat too much after adding rice, briefly increasing the simmer temperature to 205°F (96°C) for 2-3 minutes helps complete gelatinization, then returning to a gentle simmer prevents overcooking.
This temperature modulation is a pro technique I employ when working with large soup batches.
Soaking, Pre-cooking, and Alternative Methods

Pre-soaking rice before adding it to soup can reduce cooking time and improve texture by hydrating the grain uniformly.
I soak basmati or jasmine rice in cold water for 20 to 30 minutes, then drain and add it to the hot soup, which typically reduces simmer time from 20 minutes to 12-15 minutes.
Parboiling or partially cooking rice separately is a foolproof method when preparing complex, slow-simmered soups.
This technique reduces the risk of overcooked rice and watery broth.
For example, with a hearty lentil and rice soup, I parboil rice for 7 minutes, drain, then add the rice during the last 10 minutes of cooking.
Some cooks prefer cooking rice in a sealed bundle (e.g., cheesecloth or muslin bag) immersed in soup.
This contains starch leakage and simplifies broth clarity but limits direct rice-flavor mingling.
I tried this method with parsley stems and rice during a vegetable consommé and found it helps keep broth light and transparent.
You can also experiment with pre-cooked rice if you want a fast meal but be aware it absorbs liquid differently, sometimes requiring reduction of soup volume to compensate for less starch release.
Whichever method you choose, keep notes to refine timing and liquid ratios to your personal taste.
Common Pitfalls and How to Avoid Them
One frequent pitfall is adding rice to boiling soup and immediately turning the heat to low, which interrupts rice’s initial hydration phase at optimal temperature.
Rice needs to be consistently simmered between 190°F and 210°F (88°C–99°C) for effective gelatinization, so maintaining steady heat is essential.
When I neglected this, my rice cooked unevenly and took twice as long.
Another common error is assuming the exact rice-to-liquid ratio used for stovetop rice cooking fits soups.
Soups usually have more liquid per rice volume to accommodate broth ingredients, so maintaining roughly a 1:5 rice-to-liquid volume ratio is important.
Otherwise, the rice can either absorb too much or too little broth, resulting in hard grains or a mushy mess.
People often underestimate the cumulative cooking times of soup ingredients and rice, adding rice at the wrong phase.
For example, mishandling quick-cooking vegetables like peas or corn alongside rice causes either mushy veggies or hard rice.
I recommend preparing veggies and rice in parallel or staggering additions strategically for best texture.
Lastly, ignoring the soup type (clear broth vs. creamy chowder) leads to poor rice integration.
Cream-based soups require starch management to prevent clumping; use starch-reducing techniques like rinsing rice or soaking.
Clear broths can handle more starch but risk opacity.
Understanding your soup type informs your rice cooking approach and prevents culinary missteps.
Adjusting for Pressure Cookers and Slow Cookers

When cooking rice in soup with electric pressure cookers, rapid temperature rise and increased pressure accelerate starch gelatinization, reducing cooking time significantly.
For instance, basmati rice in an Instant Pot requires about 5 minutes at high pressure with a natural pressure release, compared to 18-20 minutes simmering on the stovetop.
I discovered this by comparing batch cooking in both devices.
A key challenge is avoiding rice overcooking and losing texture, as high-pressure environments can easily turn rice mushy if timing is off.
Therefore, reduce liquid volume by at least 20% compared to stovetop recipes to prevent soupy rice, and always use the recommended rice-to-liquid ratios from your device’s manual.
Slow cookers pose the opposite challenge: low, prolonged heat causes rice to disintegrate if cooked too long.
Typically, add rice only 30 to 45 minutes before the end of cooking on low, or par-cook rice separately.
I made the mistake of adding rice too early in a slow cooker vegetable soup, turning it into a thick pudding rather than a broth-based soup.
As a rule, when using these appliances, always test the timing with small portions first and keep notes of liquid measurements.
The rice’s cook time, water absorption, and starch release all differ with appliance and model specifics, making experimentation essential for perfect results.
Balancing Nutrition and Culinary Goals
Rice enhances soup’s nutritional profile by contributing carbohydrates, essential amino acids, and fiber depending on variety.
For example, brown rice or black rice adds complex nutrients and antioxidants, but these whole grain types require longer cooking times and can alter texture if not accounted for.
I once inadvertently ruined a delicate chicken broth by adding uncooked brown rice too early, resulting in gritty grains and a clouded soup.
If calorie control is a priority, adjusting rice portion size while incorporating vegetable or legume bases helps retain fullness without excess starch.
Measuring precise rice quantities, such as 1/4 cup (45 grams) per serving, enables this balance.
Monitoring the rice type also impacts glycemic index, important for dietary considerations—jasmine rice has a high GI, while basmati is moderate.
Using rice to thicken soup naturally reduces the need for flour or cream, useful for gluten-free or lower-fat diets.
I use medium-grain rice in my vegan tomato soup to provide silkiness without added dairy.
Yet, to avoid excessive starch buildup, rinsing rice thoroughly before adding is paramount.
Embracing rice in soup lets you tailor culinary styles—from light broth accompaniments to hearty, stew-like meals.
Understanding how rice’s nutritional properties interplay with cooking methods empowers you to meet your health and taste goals simultaneously.




Leave a Reply