
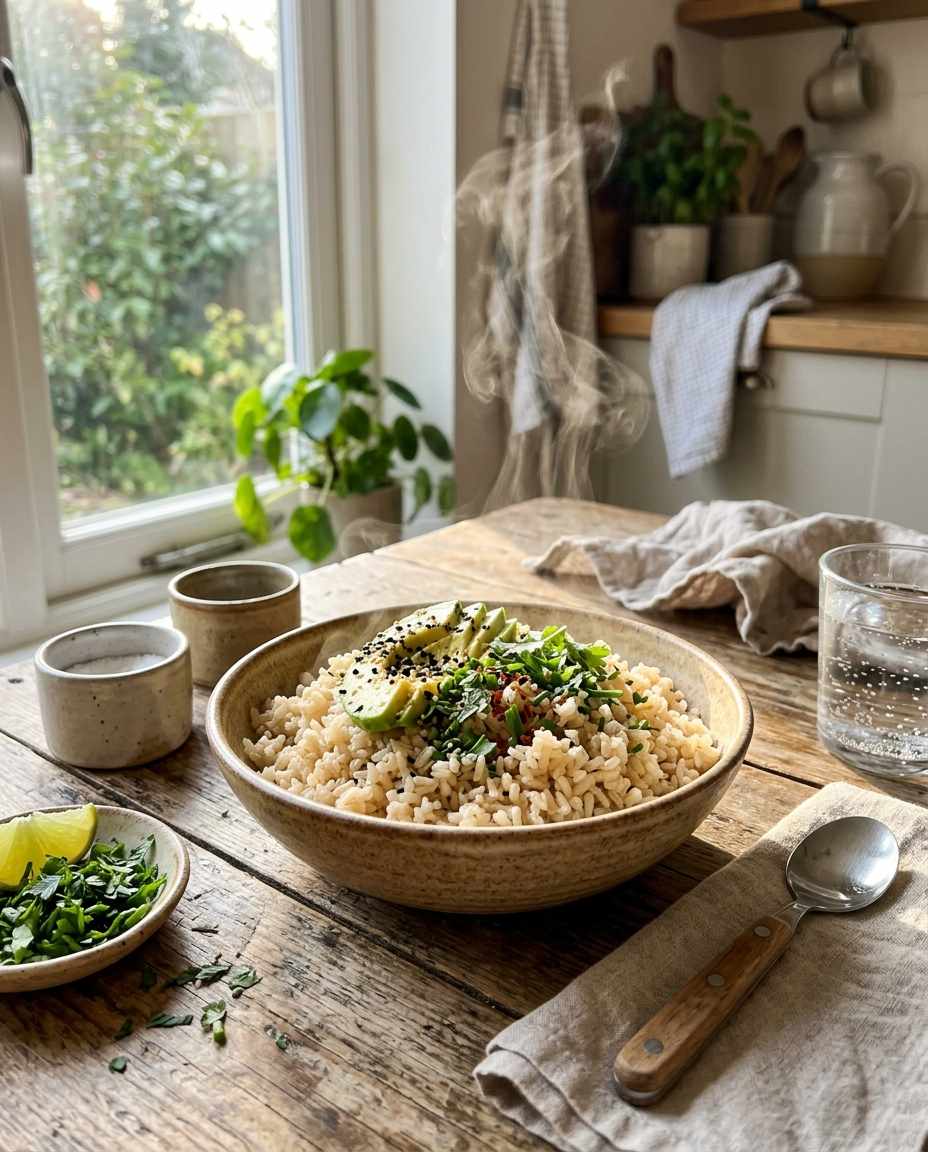
I remember the first time I tried steaming brown rice in my microwave, expecting fluffy grains but ending up with a gummy, uneven mess.
After countless tweaks and tests, I mastered a simple method that delivers perfect, chewy, nutty brown rice in under 30 minutes—every single time.
This guide breaks down why and how you can do it too.
Understanding Brown Rice Basics
Brown rice retains its bran and germ layers, giving it a denser texture and longer cooking time compared to white rice.
This intact outer layer contains oils that slow water absorption during cooking, meaning microwave methods used for white rice often fall short.
I learned early on that treating brown rice like white rice in microwave preparation yields undercooked or unevenly cooked grains.
The key to mastering microwave brown rice lies in balancing water volume, microwave wattage, and cooking time.
In a professional kitchen, steam infusion and time-pressure allow white rice to cook quickly, but at home, the microwave’s uneven heat distribution demands careful adjustments for brown rice’s tougher grain.
One time, I tried cooking brown rice with standard 1:2 rice-to-water ratios in an 850-watt microwave and ended up with rock-hard grains.
Increasing water too much, however, leads to mushy rice.
The solution is precise calibrated water volumes, generally around 2.5 cups water per cup of brown rice, coupled with correct microwave time and power.
Ultimately, understanding that brown rice needs longer, steadier hydration transforms the approach from trial-and-error to science.
I recommend measuring rice and water meticulously and adjusting based on your specific microwave wattage.
This foundation is crucial before attempting shortcut microwave methods.
Choosing the Right Microwave and Cookware

Microwave wattage directly affects cooking outcomes: a 900–1000 watt microwave produces more uniform heat than lower wattage models, crucial to cooking brown rice evenly.
I tested the same recipe in microwaves ranging from 700W to 1200W and found that lower wattage units demanded longer times, risking drying out the rice’s surface.
If your microwave’s wattage is unknown, check its label or manual before starting.
Equally important is your cookware.
I strongly advise using a microwave-safe, glass or ceramic container no taller than 5 inches and wide enough (around 7–8 inches diameter) to spread the rice in a shallow layer.
Tall, narrow containers trap steam inefficiently, leading to uneven cooking.
Avoid plastic as it may warp or leech chemicals during high heat.
Another insider tip: lifting the lid or covering loosely with a vented microwave-safe silicone lid maintains steam while preventing pressure buildup that causes sogginess.
I tried tightly sealed containers initially and encountered pot-like explosions and overly moist rice.
A loose cover equilibrates moisture better, resulting in separate grains.
If you have a microwave with a turntable, make sure the container rotates freely.
Otherwise, stop the microwave halfway and rotate manually.
Uneven microwave hotspots produce inconsistent texture if you don’t.
Adjusting your cooking environment—microwave wattage and cookware—sets the stage for perfect microwave brown rice.
Water-To-Rice Ratios and Soaking Secrets
The classic dry-to-water volume ratio for stovetop brown rice is about 1:2, but microwaving requires an adjustment.
Because microwaves cook faster and the container traps more steam, I found 1:2.5 works better, providing sufficient hydration without waterlogging.
For example, 1 cup (190g) brown rice with 2.5 cups (600ml) water yields perfectly tender grains when cooked properly in a microwave.
An often overlooked step is rinsing and soaking brown rice before cooking.
Rinsing removes surface starches that cause gummy clumping, which I first learned the hard way after overly sticky microwave rice.
Soaking for 20–30 minutes at room temperature further softens the bran layer, reducing cooking time and improving texture.
I conducted side-by-side tests cooking soaked versus unsoaked brown rice in the microwave and the soaked rice consistently produced more evenly cooked, less chewy grains.
For quick weekday meals, soaker bags or overnight prep in the refrigerator offer an easy upgrade.
You can skip soaking, but expect longer microwaving times and potentially less fluffy results.
In sum, precise water quantities paired with pre-cooking rice prep like rinsing and soaking ramp up microwave brown rice quality dramatically.
Always aim to measure your water and rice with digital scales or clear markings; eyeballing leads to inconsistency.
This stage forms the backbone of consistently good microwave-brown rice.
Step-by-Step Microwave Cooking Process

Start by rinsing 1 cup of brown rice under cold running water for 30 seconds to one minute until the water runs clear.
Then soak the rice in 1.5 cups of water for 20 minutes, draining excess soak water afterward.
This soaking step softens the bran layer, reducing overall cooking time and improving texture.
Transfer soaked rice into your microwave-safe glass bowl and add 2 cups of fresh water.
Cover the bowl loosely with a vented silicone lid or microwave-safe plate, ensuring some steam can escape to prevent pressure buildup.
Place in the microwave on high power (900–1000W) for 10 minutes.
After the initial cook, reduce microwave power to 50% (medium power) and cook for another 15 to 18 minutes, stopping halfway to stir gently and redistribute the rice.
Stirring breaks apart clumps and checks doneness, which I find critical because microwave hot spots can unevenly cook the grains.
Once heated through, let the rice rest, covered, for 5–10 minutes in the microwave (turned off) to allow residual steam to finish cooking the rice slowly.
Fluff with a fork before serving.
This method balances cooking intensity and steam retention, essential when cooking brown rice microwaving.
Troubleshooting Typical Problems
Under-cooked rice with a hard core is the most common microwave brown rice problem.
This usually results from insufficient water or microwave time.
If your rice is still chewy after the standard cook, try adding ¼ cup more water next time, increase medium power time by 2–3 minutes, or soak the rice longer before cooking.
Tasting early prevents waste.
Overly sticky or mushy rice often arises from excess water or too tight a cooking lid trapping too much steam.
I found that venting the cover or reducing water volume prevents sogginess.
Remember, the goal is tender but separate grains, not clumps of porridge.
Using a fork to fluff and stir right after cooking helps loosen grains.
Uneven cooking is usually caused by microwave hot spots or improper rotation of the container.
If you notice patchy textures or dry crusty spots on top, pause cooking halfway to stir the rice and rotate the bowl manually.
Higher wattage microwaves produce fewer hot spots but still benefit from this practice.
Burnt or dried edges signal excessive heat or too little water.
If you encounter this, reduce the cooking time slightly and add more water to maintain moisture balance.
Using a glass dish with thicker walls can also moderate heat distribution.
Keep notes on your specific microwave’s quirks as this varies widely.
Enhancing Flavor and Texture Post-Cooking

Microwave brown rice tends to be nuttier and chewier than white rice, but you can elevate its flavor by adding seasoning before cooking.
I add a pinch of Himalayan pink salt and a tablespoon of cold-pressed olive oil to the water.
The salt enhances the natural nuttiness and the oil coats grains, improving mouthfeel and reducing clumps.
To introduce subtle aromatics, try cooking your rice in broth instead of water.
Vegetable or chicken broth adds savory depth.
I substitute 2.5 cups of low-sodium broth in my favorite method, balancing moisture to avoid mushiness.
Aromatic inclusions like a bay leaf or a small piece of cinnamon stick during soaking impart gentle warmth.
After cooking, fluff the rice with a fork and stir in toasted nuts or chopped fresh herbs, like cilantro or parsley, for freshness and texture contrast.
For a quick weekday lunch, adding a squeeze of lemon juice brightens the overall profile.
I keep chopped herbs ready in the fridge for this reason.
Finally, if texture fatigue sets in, try mixing the cooked rice into stir-fries or baked dishes to transform its character.
Microwave brown rice works brilliantly as a base component for nutrient-dense meals.
Enhancing flavor post-cooking expands your culinary palette beyond the basic grain.
Scaling Up: Cooking Large Batches Efficiently

When cooking for a family or meal prep, scaling microwave brown rice requires adjustments in both container size and cooking time.
Larger volumes need broader, shallower containers to maximize steam circulation; I recommend wide Pyrex baking dishes no deeper than 3–4 inches to avoid clumping in corners.
Deep, narrow bowls trap moisture unevenly, producing inconsistent results.
Microwave wattage and container shape dictate cook times as well.
A 4-cup batch of brown rice typically needs 3:1 water-to-rice ratio and about 18 minutes on high power followed by a 25-minute medium power phase, with stirring midway.
Multiplying cooking times isn’t linear because microwaves heat inconsistently with larger volumes, so timing experiments are necessary.
Cover your container with a vented large silicone lid or reusable microwave-safe parchment paper to trap steam while releasing pressure.
Overly tight seals risk soggy texture, while loose ones dry out the rice.
In my meal prep sessions, this balance is essential to retain the rice’s integrity in batch quantities.
If your microwave is small or low wattage, cook rice in multiple smaller batches to maintain quality rather than one massive batch.
Reheating leftover microwave brown rice in a bowl with a sprinkle of water and a loose cover restores moisture.
Scaling up need not sacrifice quality if tackled methodically.
Comparing Microwave with Traditional Methods
The stovetop method for brown rice typically involves boiling water, simmering rice covered for 40–50 minutes, then resting off heat—yielding a reliably fluffy outcome but requiring active management.
I found microwaving cuts that time in half with less hands-on effort, ideal for busy days.
However, microwaves can produce less even heating zones affecting texture.
Pressure cookers or Instant Pots offer another quick alternative, cooking brown rice in 20–22 minutes under high pressure with excellent results.
Yet, these appliances are not always accessible, and some dislike their texture as denser or stickier.
I prefer microwave when convenience and speed top priorities, especially for smaller portions.
A downside of stovetop or pressure cooking is lack of portability and cleanup complexity.
Microwaving brown rice in one bowl minimizes washing and doesn’t require monitoring the stove, making it a low-barrier option.
That said, stovetop cooking allows more complex flavor additions mid-cook, which microwaves do not easily accommodate.
Ultimately, microwave cooking sacrifices some finesse for speed and ease but can produce near-stove quality rice with practice.
I encourage readers to try all methods, then select microwave for weeknights or quick meal prep.
Understanding trade-offs helps you decide for your lifestyle.
Cleaning and Maintaining Microwave Rice Cookware
Cleaning your microwave rice cookware promptly after use prevents starch residue buildup and lingering odors.
I typically rinse glass dishes with hot water immediately after use, then soak briefly in baking soda solution (1 tablespoon baking soda per cup water) to break down starch residues.
Avoid abrasive scrubbers that can scratch glass or ceramic surfaces.
Microwave-safe silicone lids can retain odors from cooked rice or seasonings.
Washing with lemon juice or white vinegar and sun-drying helps neutralize smells effectively.
I learned to rotate my lids every few months to maintain freshness and avoid micro-cracks leading to leaks.
If your cookware is dishwasher safe, place it on the top rack to prevent warping or discoloration.
Consistent cleaning extends lifespan and preserves the microwave’s internal cleanliness, as starch spills cause smoke or burn smells.
I keep a dedicated sponge and mild detergent stocked near the microwave to encourage immediate cleaning.
Regular maintenance also includes inspecting the microwave seal and vent to ensure steam escape during cooking functions properly.
Blocked vents cause moisture buildup and equipment damage.
A clean cooking environment ensures your perfect microwave brown rice routine remains hassle-free and efficient.




Leave a Reply