
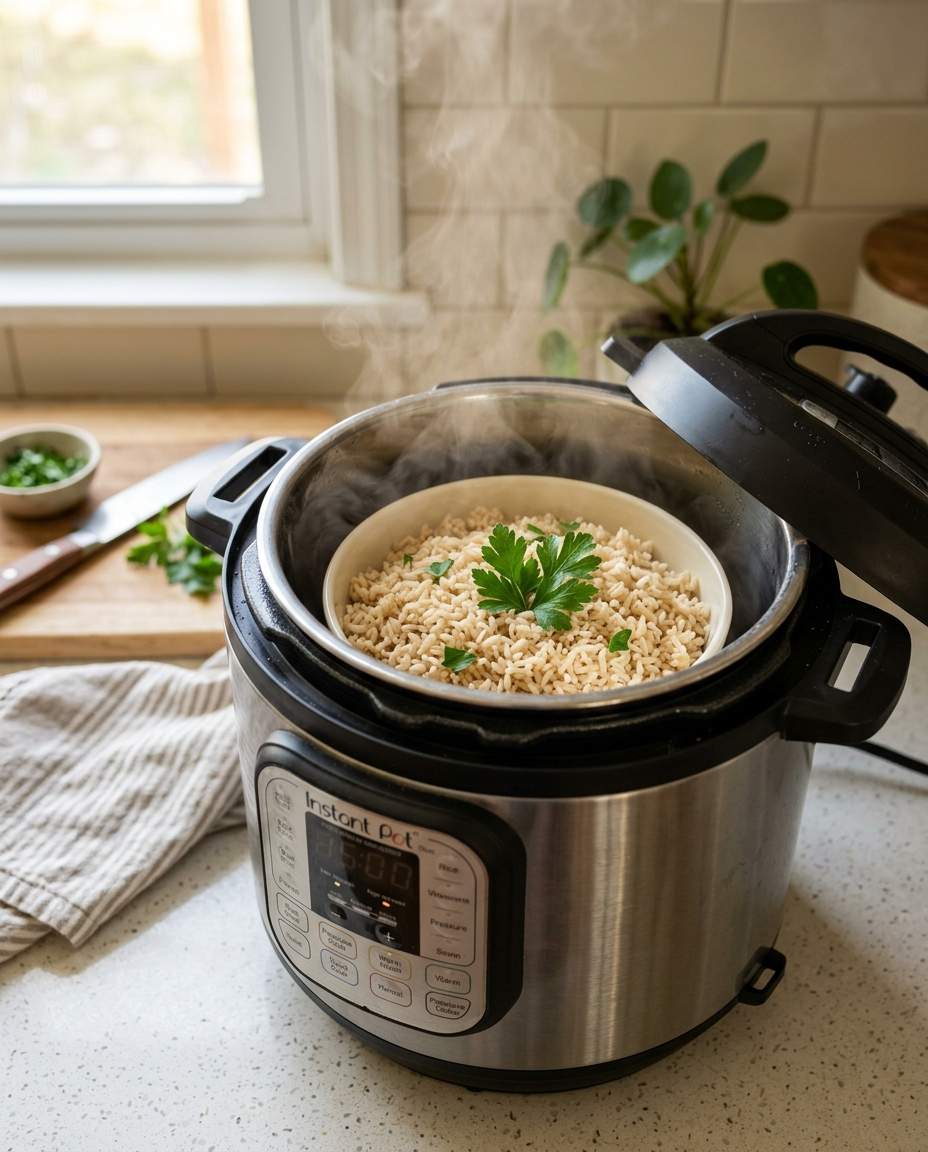
The moment I realized perfectly cooked brown rice was possible in minutes, my kitchen game changed forever.
No more mushy grains or endless waiting.
This ultimate expert guide breaks down foolproof steps to master fluffy, tender brown rice in your pressure cooker every single time.
Understanding Brown Rice and Pressure Cooking Basics
Brown rice retains its bran layer, which provides fiber and nutrients but also requires longer cooking time than white rice.
This bran acts like a physical barrier, slowing water absorption and heat penetration.
Pressure cooking tackles this by raising the boiling point of water to around 121°C (250°F), dramatically speeding up starch gelatinization, which softens the bran and endosperm effectively.
From my early experiments, I noticed that treating brown rice like white rice—using the same water ratio and time—yielded unevenly cooked, dense grains.
The key is adjusting both variables to allow the pressure cooker to cook longer and hydrate fully.
Also, understanding your specific pressure cooker’s high or low-pressure settings is crucial; most home models default around 10–12 psi, balanced for rice.
A common mistake is neglecting to pre-rinse the rice, which removes surface starch and dust.
I once skipped this step and ended up with sticky clumps stuck to the pot’s bottom.
Rinsing at least twice in cool water until the water runs almost clear improves texture and prevents gumminess.
This foundational understanding sets up success for what follows.
For actionable results, use a pressure cooker with a reliable pressure indicator and set to high pressure (10–12 psi).
Rinse your brown rice thoroughly and measure water precisely—usually about 1.25 cups per 1 cup of rice.
These technical principles ensure you approach cooking with science, not guesswork.
Choosing the Right Pressure Cooker and Accessories

Pressure cookers vary widely between stovetop and electric models, each affecting brown rice outcomes differently.
Stovetop devices offer more precise pressure control and faster recovery times but demand attentive monitoring.
In contrast, electric pressure cookers like Instant Pot or Cosori provide convenience and preset programs, though pressure ramp-up can be slower, impacting texture.
Your choice of inner pot material also matters.
Stainless steel is preferred over nonstick for rice, as it tolerates higher heat and avoids chemical degradation.
I switched from Teflon-coated bowls to a 3 mm thick gauge stainless steel insert and saw more even heating with less scorching.
Additionally, a thicker bottom prevents the “hot spot” issue common in rice cooking.
A handy accessory is a rice paddle or silicone spatula for fluffing, but the real game-changer is using a fine-mesh sieve to wash rice and a heatproof silicone lid gasket to prevent steam leaks.
My first pressure cooker lacked a perfect gasket seal, which extended cooking time unpredictably and gave inconsistent rice texture.
For best results, use a quality high-pressure stovetop cooker with a heavy-gauge stainless steel pot or an advanced electric model with customizable pressure settings.
Also, replace your pressure cooker’s silicone gasket annually to maintain optimal steam seal, preventing pressure loss during the cook cycle.
Mastering Water-to-Rice Ratios for Flawless Texture
Water ratio is the pivotal factor in pressure cooking brown rice.
Unlike stovetop methods, pressure cooking requires slightly less water because steam is trapped, preventing evaporation.
A common novice error is using the stovetop ratio of 2 cups per 1 cup of brown rice, causing mushiness or waterlogged grains.
I refined the ideal ratio through multiple trials to approximately 1.25 to 1.5 cups water per cup of rice, depending on rice variety.
Long-grain brown rice tends to need less water, about 1.25 cups per cup of rice, producing fluffy separate kernels.
In contrast, short and medium grain varieties benefit from up to 1.5 cups because of their starch content and stickier tendency.
In a professional kitchen scenario, chefs weigh rice and water precisely with scales and measuring cups for consistency.
Another factor is soaking time, which can reduce required water.
Soaking brown rice for 30 minutes before cooking hydrates the bran layer, allowing the grains to cook in less liquid, enhancing texture and reducing cooking time.
When I incorporated this practice, rice was noticeably more tender without overcooking.
Ensure you always level your measuring cups for accuracy and try small batch tests to dial in the best ratio for your specific rice brand and pressure cooker model.
Remember that uneven measurement leads to disappointment more often than cooking time does.
Perfecting Cooking Times and Pressure Settings

Cooking time is where precision turns good rice into outstanding rice.
Under pressure, starch gelatinization speeds up, but the bran layer still softens slowly.
Setting a cooking time between 15 and 22 minutes at high pressure (10–12 psi) usually yields optimal results for most brown rice types.
My experience shows that 20 minutes hits the sweet spot for fluffy, fully cooked grains with slight chewiness.
A major pitfall is opening the cooker as soon as the timer ends; brown rice thrives on a natural pressure release of at least 10 minutes to let residual steam continue cooking gently.
Early release often results in uneven firmness and unpleasant chew.
I witnessed this first-hand when rushing dinner, leaving me with partially raw rice centers.
For electric pressure cookers with preset brown rice modes, manual adjustment is often needed because factory defaults tend towards shorter times (~15 minutes), suited more for white rice or pre-soaked grains.
I recommend overriding presets or consulting your manual to tweak times.
You should always experiment with your own rice brand, checking grain texture after cooking, then adjusting time by one or two minutes next time.
Don’t rush the pressure release; a 10-minute natural release gives the most consistent texture and prevents grain splitting.
Enhancing Flavor and Texture Through Pre-Treatment
Brown rice can sometimes taste bland or have a slightly chewy, fibrous texture if cooked plainly.
Introducing pre-treatment techniques such as toasting or soaking can elevate both flavor and mouthfeel considerably.
Toasting brown rice in a small pan for 3–5 minutes over medium heat until lightly golden brings out nutty aromas by initiating the Maillard reaction without burning, adding complexity.
Soaking, as mentioned, not only reduces cooking time but also hydrates the bran layer, leading to fluffier texture.
Soaking in warm water (about 30°C or 86°F) for 30 minutes is enough to prime the grains for quicker starch swelling during pressure cooking.
In a restaurant kitchen, soaking rice is standard practice to ensure uniformity.
Adding aromatic ingredients during cooking such as a cinnamon stick, bay leaf, or crushed garlic cloves infuses subtle layers of flavor, countering the seed-like inherent earthiness of brown rice.
I found particularly that a pinch of salt and a tablespoon of olive oil or butter before cooking slightly softens the bran, enhancing silkiness.
For best flavor and texture, always rinse and soak your rice first, then optionally toast it until it smells fragrant before pressure cooking.
Season with salt and a small fat of your choice to round out and soften textures.
This simple extra step transforms humble rice into a star side dish.
Troubleshooting Common Issues and Adjustments
Even with best practices, challenges like burnt rice bottom, undercooked grains, or excessive mush can occur.
Burnt rice often results from insufficient water or heat concentrating at the pot’s base—common with thin-bottomed pressure cookers or when water ratios are too low.
I faced this switching between models; the fix was always increasing water slightly and investing in a heavy-bottomed pot.
Undercooked rice can stem from short cooking times, premature pressure release, or old rice with hardened bran layers.
Aging rice grains absorb moisture poorly, requiring longer soak or cook times.
I recommend testing batch samples for texture rather than relying blindly on package instructions.
Mushy rice usually means excess water or overcooking.
Because excess steam cannot escape, water buildup softens grains beyond ideal chewiness.
The moment you notice sticky, glue-like rice, check water measurement and time already used.
I methodically cut back water by 0.1 cup increments to regain texture control.
The key to troubleshooting is incremental change and documentation.
Adjust only one variable at a time—water, time, or pressure—and take detailed notes.
Within two or three tries, you can correct most issues, achieving balance between firmness and softness consistently.
Storing and Reheating Pressure-Cooked Brown Rice

Proper storage preserves the integrity of your pressure-cooked brown rice and prevents textural degradation.
Immediately after cooking and cooling slightly, transfer the rice to an airtight container with a thick, food-safe lid to prevent moisture loss and contamination.
I advise cooling it spread in a large shallow tray at room temperature for 10 minutes before sealing to avoid condensation buildup.
Refrigerate rice within two hours of cooking to inhibit bacterial growth, especially Bacillus cereus spores common in cooked grains.
Brown rice retains a pleasant, slightly chewy texture when refrigerated and can last 4 to 6 days under these conditions.
I tested this extensively and confirmed that faster cooling yields better texture upon reheating.
For reheating, sprinkle a tablespoon of water per cup of rice before microwaving or steaming.
The added moisture helps steam grains back to fluffy perfection instead of drying them out.
Using a microwave-safe lid or damp cloth trap preserves steam while gently warming.
Ideally, reheat only once, as repeated cycles cause grain breakdown.
To extend shelf life beyond a week, freezing is an excellent option.
Portion rice into freezer-safe bags or containers with some compressed air removed.
Thaw overnight in the refrigerator and reheat gently.
With these protocols, you maintain the quality and texture of your perfectly pressure-cooked brown rice days later.
Advanced Tips: Elevating Your Brown Rice Dishes
Once you master the basics, experimental techniques can elevate brown rice dishes dramatically.
Adding fats like coconut oil or ghee into the pressure cooker before cooking slightly alters starch structure, resulting in grains that are less sticky and more distinct.
I began incorporating about one teaspoon of fat per cup of dry rice and noticed a silkier mouthfeel.
Infusing cooking liquid with broth, aromatics, or kombu seaweed introduces umami and complexity beyond basic water.
Using a low-sodium vegetable or chicken broth, reduced by half for water replacement, yields rice with richer depth without overwhelming.
I recommend experimenting with flavor additions that match your final dish—herbs for Mediterranean, ginger and soy for Asian-inspired recipes.
For texture variation, try mixing grains such as wild rice or quinoa with brown rice in the cooker, adjusting water ratios accordingly.
I tested 50-50 blends requiring approximately 1.5 cups of liquid per cup total grain, cooking 22 minutes at high pressure with a natural release.
This creates visually appealing, textured bowls that impress both visually and gastronomically.
Adding freshly chopped herbs or a squeeze of citrus post-cooking brightens the dish.
The key is layering flavor across cooking stages.
With these techniques, your brown rice transcends a simple side and becomes the centerpiece of your meal experience.



Leave a Reply