
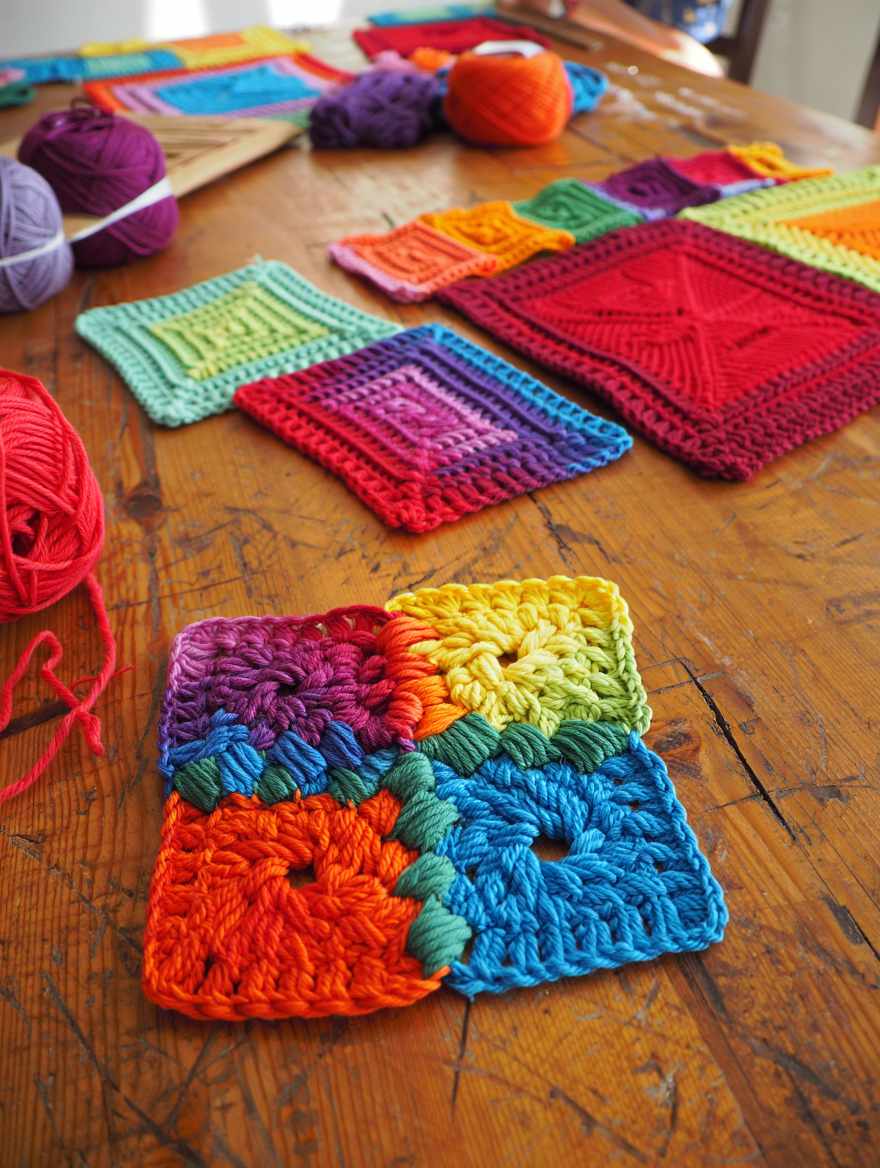
I still remember the thrill of completing my first solid granny square, the seamlessness of it leaving me in awe.
No gaping holes, just a solid fabric that felt sturdy and beautiful in my hands.
This guide will help you master the technique step by step, ensuring your creations are both professional and visually striking.
Understanding the Solid Granny Square
The solid granny square is a staple in crochet, celebrated for its versatility and charm.
Unlike traditional granny squares featuring open gaps, this stitch pattern utilizes elongated triple crochet stitches, creating a denser fabric.
This results in a square that not only looks polished but also provides greater warmth and structure.
The beauty of this technique lies in its simplicity while offering a profound impact on your finished project.
A real-world example of this can be seen in the cozy afghans made by crochet enthusiasts, where solid granny squares contribute to a warm, tightly woven blanket.
By skipping the standard chain spaces, you’re enhancing durability, making your projects more suitable for everyday use without compromising style.
A solid granny square can easily be the backbone of larger projects like bedspreads and stylish throws.
Many newcomers may initially struggle with the absence of chain spaces, mistakenly believing this makes their work tighter and stiffer.
In fact, it’s quite the opposite; eliminating gaps allows for a more flexible structure that still holds its shape.
Understanding this principle can transform how both beginners and experienced crocheters approach granny squares, enabling a more open exploration of creative possibilities.
When embarking on this crafting journey, keep in mind that workflow is essential.
Begin by organizing your workspace, selecting yarn and hooks that complement your project’s needs.
This preparatory step will not only streamline the process but will also inspire a sense of purpose as you create your beautiful granny squares.
Essential Materials for Your Project
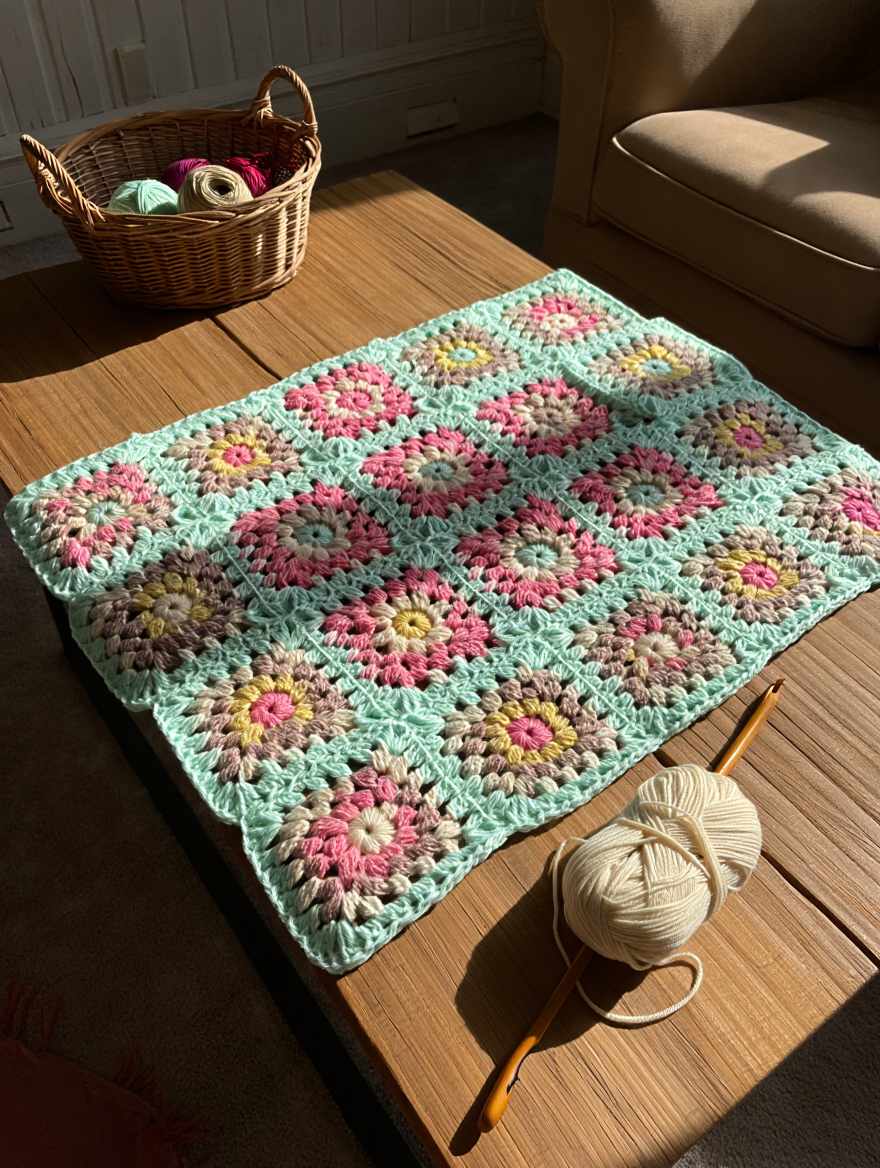
To embark on crafting your solid granny squares, you’ll need a few key materials to set the foundation.
Begin with worsted weight yarn, classified as Category 4, as this provides the ideal balance between thickness and flexibility.
If you’re feeling adventurous, don’t hesitate to experiment with other yarn weights.
Adjust your hook size accordingly; for worsted weight, a Size H/8 (5.0 mm) crochet hook is typically recommended.
This combination yields an approachable starting point for beginners.
In addition to yarn and a hook, gather a yarn needle to weave in ends post-project.
Stitch markers can be invaluable in keeping track of rounds, especially as your project grows in size.
I learned this lesson the hard way on my first large-scale crochet project, where a misplaced stitch marker led to uneven corners that took hours to correct.
Your pattern should also include a ruler or tape measure to track your squares’ dimensions, especially if you’re working towards a specific size.
Many crafters often overlook the importance of quality yarn.
Investing in higher-grade fibers can enhance the texture and appearance of your granny squares.
Look for fibers that boast a balanced ratio of softness and durability, like an acrylic-wool blend.
This not only ensures longevity in your projects but also a pleasant tactile experience as you work.
As you gather materials, make sure to create a vibrant color palette that reflects your personal style.
Consider how colors interact when combined; warm hues like reds and oranges tend to create a cozy vibe, while cool colors like blues and greens can evoke tranquility.
Let your creativity dictate your choices, but also aim for a balance that elevates your work.
Step-by-Step Instructions for Creating Squares
Starting your solid granny square pattern begins with the foundation ring, a crucial element where the magic happens.
To create this, begin with a chain of five and join the ends with a slip stitch.
Alternatively, try a magic ring, which allows for a tighter start.
This initial step sets the tone for a well-structured square, and I’ve found a magic ring not only adds elegance but also enhances security in your work.
For Round 1, chain four to count as a triple crochet and begin your first round by working three double crochets into the ring.
Next, create three sets of (one triple crochet, three double crochets) to establish corners.
Remember to join the last stitch with a slip stitch to the top of your initial chain four, giving it a seamless finish.
Another common mistake here is miscounting stitches, leading to uneven squares.
Always check your total stitches after each round.
As you progress to Round 2, replicate the process by chaining four again and working two double crochets into the same top stitch from Round 1.
Ensure you follow the corner pattern (two double crochets, one triple crochet, two double crochets) closely to maintain a consistent structure.
You shall find your square gradually expanding while retaining the no-gap integrity.
Continuing onwards, simply repeat the pattern established in Round 2, taking care to increase the count of double crochets on each side between corner stitches.
For example, in Round 3, you’ll have a total of 48 stitches, representing progress and dimensionality.
Keep this pattern going until your square reaches your desired size, adjusting as necessary if any stitches feel too tight or too loose.
Finishing Touches: Weaving and Secure Tail

When your solid granny square reaches your desired dimensions, it’s time to cut the yarn and fasten off.
This is not merely a conclusion of your work but an integral phase that impacts the overall quality of your finished product.
Use a yarn needle to weave in your ends meticulously, ensuring they do not unravel over time.
Take your time with this step.
In my early projects, I often rushed this process, leading to unsightly tails popping out after a few washes.
If you’ve noticed a small hole forming in the center of your square, this can easily be resolved by gently pulling the starting tail.
This not only prevents further fraying but provides a polished appearance free of gaps.
Proper finishing techniques create a more professional-looking result, whether you’re crafting for yourself or gifting your handiwork to others.
Many learners find themselves intimidated by the finishing process, often neglecting it in favor of jumping into their next project.
However, dedicating time to finish your work can elevate the perceived quality and longevity of your items significantly.
Consider it the cherry on top of your crocheting journey.
In the world of crochet, attention to detail is what sets apart the mediocre from the exceptional.
This stage of finishing is where your sense of craftsmanship truly shines.
Take pride in your completed square, knowing you’ve created something tangible and beautiful.
Always keep this mindset as you continue your crocheting adventures.
Common Mistakes to Avoid
While many are eager to embrace the solid granny square technique, mistakes can happen, particularly for those just starting out.
A common error is misjudging the tension while crocheting.
This can create uneven stitches, resulting in squares that warp or misform.
To combat this issue, maintain a consistent grip on your yarn and pay attention to your tension.
Experimenting with various tension levels can help you identify what yields the best results for you.
Another frequent issue is counting stitches, which can lead to either a ruffled appearance or a square that doesn’t lay flat.
Some crafters might find it beneficial to use a counter or mark each round to simplify this process.
The key is to focus; counting carefully as you go not only improves the overall structure of your pieces but also instills good habits for future projects.
Many new crocheters often mistakenly rely on chain spaces thinking they add stability.
However, with this solid granny square technique, the absence of chain spaces is what creates a tight-knit fabric.
Instead, understanding the role of each stitch and its placement within your square’s framework will lead you to a more refined practice.
Lastly, neglecting to weave in your ends securely can lead to unraveling or an unkempt look.
Always take the extra few minutes to ensure each tail is properly tucked away.
This detail may seem small but contributes significantly to the professionalism and durability of your finished square.
Exploring Variations and Color Techniques

Once you’ve mastered the solid granny square, you might feel inspired to explore endless variations and color techniques.
For example, consider introducing contrasting colors per round, which adds a modern twist to the classic look.
Imagine vibrant blooms of yellow against deep navy , this contrasting technique allows for personalization and creativity, making your work stand out in a sea of traditional designs.
One of my favorite personal projects was creating a blanket using alternating colors for each round.
It provided not only a stunning visual appeal but also gave me the opportunity to play with color theory.
Learning how colors interact can elevate your projects, from bright, vibrant palettes to subdued, monochromatic schemes.
Another variation worth exploring is the addition of texture through the use of different stitches in your rounds.
As you become comfortable with the basic solid granny square, consider integrating raised stitches or popcorn stitches to create dimension.
This not only adds interest but a new tactile element that transforms a straightforward crochet square into an extraordinarily dynamic project.
Don’t hesitate to experiment with yarn types, too.
Blending fibers, like mixing cotton with acrylic, can bring forth unexpected textures.
Each choice can influence how your granny squares behave, feel, and look.
Document your variations to create a unique style that reflects your creativity and passion for crocheting.
From Squares to Projects: What Next?
Having honed your skills with solid granny squares, the next step is to consider how to incorporate them into larger projects.
One of the most rewarding uses for these squares is in constructing blankets or afghans.
By joining your squares, you create warmth and coziness while allowing each square to shine individually within the larger piece, a testament to your skills and imagination.
You can also use solid granny squares to develop seasonal decor items like table runners or wall hangings.
Since this stitch provides both beauty and structure, it serves various uses beyond just the cozy blanket.
Many crafters enjoy creating decorative pillows that feature solid granny squares to bring a unique touch to their living spaces.
For those who wish to share their love for crochet with others, consider making small gifts or meaningful items like coasters or keychains.
The charm of a well-crafted solid granny square can make delightful presents.
Think about combining colors that reflect the recipient’s personality; this small gesture adds a personal touch that friends and family will appreciate.
Finally, if you’re feeling confident, challenge yourself to experiment with patterns.
Try designing your own crochet pieces using solid granny squares as building blocks.
The only limit is your imagination,allow yourself to explore and grow as you create beautiful, one-of-a-kind items inspired by your crochet journey.


Leave a Reply