
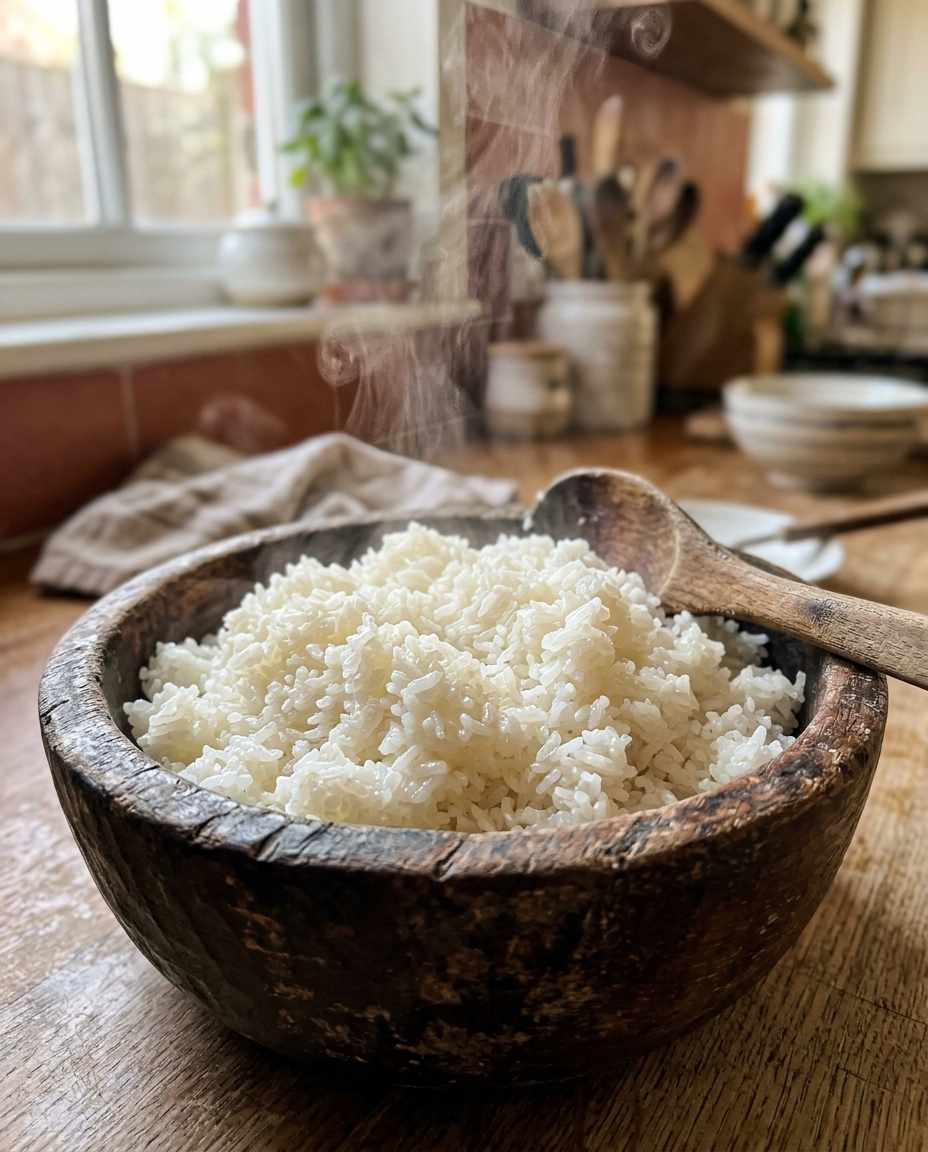
I remember the first time I nervously lifted the lid of my wooden pot, hoping to see perfectly steamed rice instead of a sticky mess.
The subtle clues in texture, aroma, and appearance are what truly reveal if rice is done, beyond just timing.
This guide will unlock the expert techniques that bring flawless grains to your table every time.
Understanding Rice Varieties and Cooking Times
One of the foundational steps to knowing when rice is done is understanding the specific variety you are cooking.
Long-grain varieties like basmati require different cook times and water ratios than short-grain sushi rice, which is stickier and more moisture-sensitive.
For example, jasmine rice typically takes around 15 minutes to cook, while brown rice demands 40–50 minutes.
The starch composition—amylose versus amylopectin—influences how the grains absorb water and gelatinize, altering doneness cues.
Visual Signs of Perfectly Cooked Rice

The earliest and often most reliable way to check if rice is done is through careful visual inspection.
Properly cooked rice grains appear visibly plump, with a slightly translucent center and intact grains that separate easily without grinding into each other.
Unlike raw rice, which looks opaque and firm, cooked grains swell and soften as they absorb water and heat.
On the other hand, overcooked rice loses its shape, becoming mushy with broken grains clumping together as starches leach out.
When I first started to cook rice, I usually opened the lid too early or stirred too vigorously, causing grain breakage that hindered visual assessment and resulted in sticky rice.
A subtle but crucial clue is when tiny steam bubbles evaporate from the grain surfaces rather than pooling water on top, signaling moisture is mostly absorbed, and gelatinization is near completion.
Additionally, you will note a faint sheen or glossiness from released starch that indicates readiness.
Avoid judging doneness when grains look dull or sticky, which often means excess moisture or that the rice has cooled immeasurably.
To use this takeaway, lift the lid carefully just near the end of cooking, observe grain texture and translucency, and resist stirring hard to avoid breaking grains.
These visual clues are your primary indicators alongside smell and tactile checks.
The Finger Press Test: Tactile Texture Check

One practical hands-on method I rely on to gauge doneness is the finger press test, which taps into the tactile cues of rice grain softness.
After the cooking cycle, you press a single grain or a small cluster gently between your thumb and forefinger.
If the rice yields easily without feeling powdery or tough, it’s likely done.
The grain should give softness but retain slight integrity.
A real-life example is when I cooked short-grain sushi rice early on and found it gritty in center spots.
Using the finger press test helped me spot those crunchy grains, prompting additional steaming without overcooking the rest.
This method relates to the starch gelatinization stage, which softens the rice inside and around the grain.
A common mistake is using too much force, which can crush grains and mislead you into thinking the rice is mushy when it is not.
Also, if you test too soon in the cooking process, hard grains will dominate, which is normal.
The finger press test thrives as a simple, portable tactile evaluation that complements visual inspection.
When applying this, gently isolate a grain or clump on the surface and press.
If you feel a slight resistance with a softened center and no gritty crunch, you’re good to go.
If resistance feels high, steam or simmer longer, adding small amounts of water if needed, then retest after a few minutes.
Using Smell and Aroma as Doneness Indicators
The scent of cooked rice can be surprisingly informative.
As starches gelatinize, rice emits a subtle, characteristic aroma that signals it’s ready to eat.
For instance, jasmine rice releases a fragrant, slightly floral perfume when fully cooked, while basmati emits a nutty, earthy bouquet.
These aromatic notes intellectually engage us in confirming doneness.
I recall times when my rice cooker beeped, but the rice smelled off or lacked depth in aroma.
That usually indicated undercooked or overly wet rice, which needed further simmering.
Unlike visual or tactile checks, aroma provides an olfactory layer of feedback that develops in real time at final cooking stages.
A frequent error is relying on cooking time alone, ignoring smell, especially dehumidified packaged rices that lose aroma if over-stored or improperly sealed.
Overwatered rice may smell less intense and soggy, while burnt rice or scorched bottom layers emit acrid or toasted odors that mandate immediate rescue or resetting.
Next time, after cooking and rest, lean in for a sniff.
A rich, appetizing rice aroma means starches are gelatinized and moisture well balanced.
Should it smell wet, bland, or sour, reassess texture to adjust your method accordingly.
Developing this sensory skill accelerates your perfect rice progress.
The Tap and Listen Technique
A less common but insightful clue is the sound rice makes during the cooking process and at the end.
When simmering, gently tapping or shaking the pot produces different auditory feedback tied to moisture levels and grain readiness.
Cooked rice tends to sound soft, muffled, and evenly dense, while uncooked or overhydrated rice may produce a watery sloshing or wet tapping noise.
From my experience, the first time I tried this, it helped me avoid lifting the lid prematurely.
I tapped my pot of basmati rice and heard watery sloshing beneath—an indicator the liquid was still too abundant.
Waiting longer until the sound dulled to a soft tap meant the water had absorbed fully and the rice was done.
This cues the starch gelatinization and water absorption completed state.
New cooks often mistake boiling noises from the burner as the rice itself cooking, missing that the subtle internal sounds tell a fuller story.
Also, tapping too hard or shaking extensively wastes heat and disturbs steam balance.
The key is to apply a gentle tap or shake and interpret the quality of the sound in conjunction with other signals.
In practical terms, try tapping the pot lid or sides lightly near the end of cooking; absence of liquid sounds and presence of soft, solid tapping indicates readiness.
Use this method paired with visual and tactile tests for a multisensory confirmation.
How Resting Time Shapes Final Rice Texture
An often overlooked but powerful step is resting rice after cooking, typically covered and off heat for 5 to 15 minutes.
This phase allows trapped steam to evenly distribute moisture, settling starch gels in each grain, further enhancing texture and doneness uniformity.
The internal temperature remains high enough for continued gentle gelatinization.
When I skipped resting and scooped hot rice immediately, I noticed uneven texture—wet clumps interspersed with dry patches.
Pausing after cooking lets grains finish absorbing residual moisture, softening outer parts without making the rice mushy.
This step is critical especially for larger batches or older rices with less ambient moisture.
Many beginners assume that cooking end time equals serving time, but this shortcut often produces inconsistent doneness, leading to clumps or dry centers.
The key mistake is lifting the lid too soon, letting steam escape and cooling the rice prematurely.
To get best results, remove the pot from heat, keep it covered with a tight lid or kitchen towel, and rest for the recommended time.
Fluff gently afterward with a fork or chopsticks to release steam and separate grains while preserving fluffy texture.
Digital Tools and Thermometers for Precision

In the age of kitchen technology, using digital tools like infrared thermometers or smart rice cookers can enhance how you tell rice is done.
For example, rice typically reaches an internal temperature between 95–100°C (203–212°F) when fully cooked and steamed.
Measuring temperature helps remove guesswork from visual or tactile checks.
I tested both analog and digital methods and found that a quick IR thermometer reading of the surface, plus a probe test on the core of the grains, offers a reliable doneness indicator.
This technique is invaluable for cooking harder types like wild rice blends or thick-grain varieties that defy typical timing.
The common tripwire is assuming a hot surface equals cooked grains inside; a thermometer reading reassures you if the center is adequately gelatinized or if more simmering would help.
Another challenge is uneven heat distribution in thick pots, which precise temperature tools can detect and help correct by adjusting burner heat or stirring gently.
If you decide to use tech aids, calibrate your devices properly, test multiple spots, and combine the readings with sensory checks.
This hybrid approach builds confidence and improves consistency for perfect rice each time.
Common Mistakes and How to Correct Them
Even seasoned cooks occasionally face rice that is stuck, mushy, or underdone due to simple errors in timing, water ratios, or heat control.
One pervasive mistake is adding too much water, causing rice to boil unabsorbed and consequently turn soggy or turn gummy upon cooling.
This usually happens when cooks rely too heavily on volume measurements without adjusting for rice type or freshness.
I experienced this early on with short-grain rice; I added the standard 1.5 cups water per cup rice but ended with excess moisture pooling at the bottom even after resting.
The fix involved precise measuring with a kitchen scale and reducing water by 10–15% gradually until the grains absorbed water without stickiness.
Observing how the grains behaved during cooking helped fine-tune my technique.
Another common snag is cooking on too high heat, which can scorch rice before it absorbs water fully, resulting in burnt undertones and uneven texture.
To prevent this, you must bring water to a boil, then immediately reduce heat to a low simmer, optimizing time and temperature balance to allow starch gelatinization.
If undercooked rice happens, don’t discard it.
Add small amounts of boiling water, cover tightly, and let it rest off heat for 5–10 minutes, then test again.
This recovery approach avoids waste and teaches valuable adjustments for future batches.
Fluffing and Serving: Final Texture Control

The moment after rice rests is critical for setting the final texture and appearance through fluffing.
Using a fork or chopsticks gently to separate grains introduces air and prevents them from matting together as they cool.
This technique relies on manually breaking steam pockets trapped between grains after the resting phase.
Early in my cooking journey, I used a heavy spoon to stir rice post-rest, crushing grains unwittingly into clumps of sticky paste.
Later, switching to chopsticks gave me greater control to tease apart individual grains without damage.
For long-grain rice especially, fluffing ensures each grain remains distinct and appealing.
Many cooks overlook fluffing, resulting in a dense, pasty yield despite perfect cooking.
The key is gentle, light strokes rather than vigorous mixing, which can mash delicate grains and release excess starch.
Also, fluff at room temperature to avoid steaming rice further which can alter moisture balance.
For actionable steps, wait at least 10–15 minutes after cooking, then use a fork or chopsticks to lift and separate rice in layers rather than scooping or mixing from the center only.
This final touch guarantees a polished bowl of rice ready to serve.




Leave a Reply